Assembling the top
You’ve come a long way. You’ve already done half the work for your top. This week we’ll take care of putting the top together.
For this we need both the long and short strips of the background fabric as well as your finished blocks. If you haven’t finished your blocks yet, you should finish that first and then finish the top with us.
First of all, you need to sew your short strips to the blocks. So look at your pattern and find out whether you need to sew the rows from left to right first (playmat and baby/toddler blanket) or from top to bottom (sofa/sleeper blanket and king size). If you are wondering why the blankets are constructed differently, let me just say that the waste is the least with the long strips.
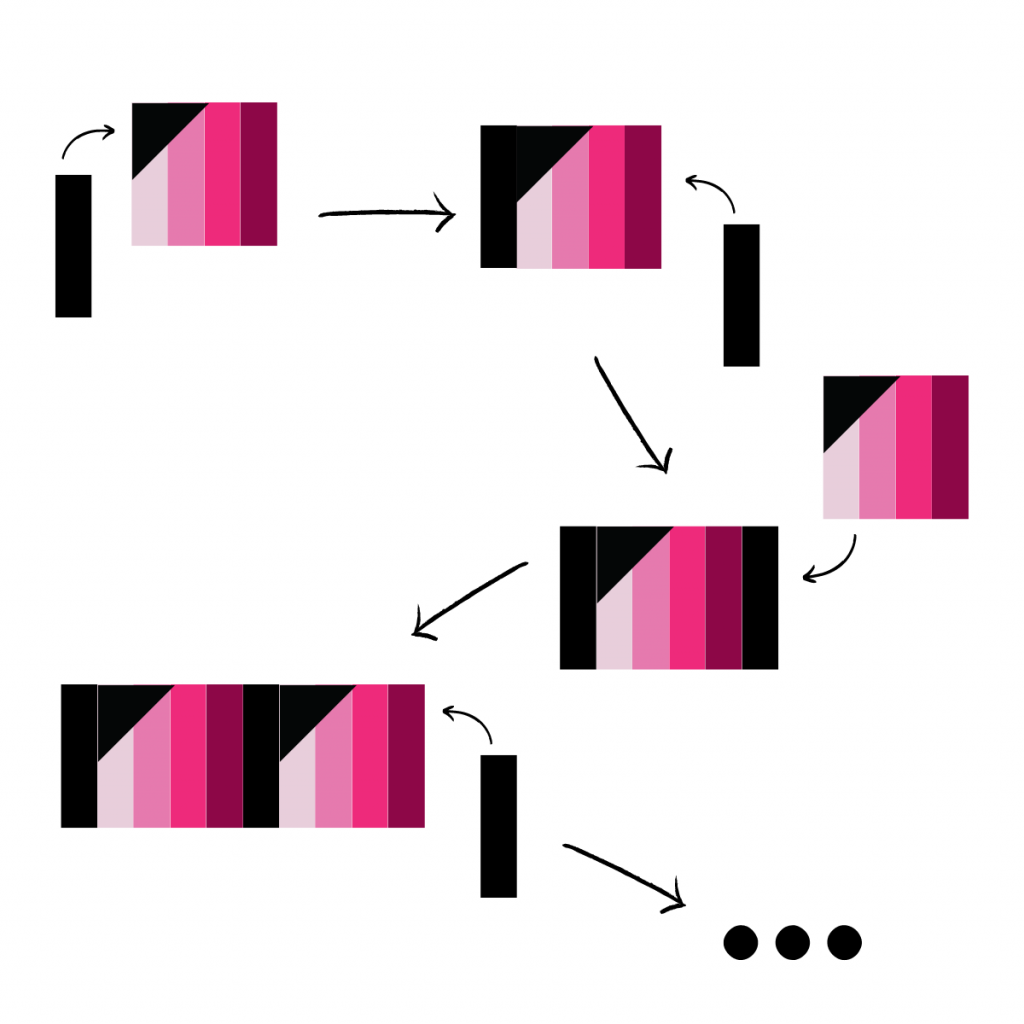
Now to the short strips: Proceed in such a way that your block always faces upwards and that you always insert the needle exactly into the seam cross when sewing. This is important so that your corner ends exactly on the center line and you get a particularly clean result.
After you have sewn all the rows together, the long strips come on. Mark the middle of all parts (rows and strips) and then place them exactly on top of each other. I recommend that you stick carefully here so that you have a clean result afterwards. In the video I show you this step in detail, so I highly recommend you watch it.
Once you’ve sewn all the rows together, trim the ends of the long strips and your top is finished!