Finishing the quilt
Oh man/woman, you’ve really come a long way. Your top is finished and you can be very proud of it. Congratulations!
Well, our final week of Sew A Long is all about finishing the quilt. For this you need batting and a quilt backing. Then everything is “married” into a quilt sandwich and firmly connected with seams. Last but not least, a binding is sewn on and your quilt is ready to cuddle with!
Batting
You have many options when it comes to batting, depending on how warm you want it and how much money you want to spend on it. The highest quality and warmest batting is certainly the wool. Here, virgin wool from sheep is processed into a very soft and fluffy fleece. I personally love this batting, it is my absolute favorite. But it also has disadvantages, for example it is not easy to process under the machine due to its fluffiness, which is why it is more suitable for advanced quilters or for hand quilting. In addition, it is not particularly allergy-friendly, as some people who are allergic to animal hair also react to wool. Furthermore, it cannot be washed with as much heat as some other quilts, which can be an important counter-argument for some people.
Probably the most popular and well-known batting is the 80/20. This is an abbreviation for a fleece with 80% cotton and 20% polyester content. It has a medium level of warmth (like pure cotton fleeces) and is rather firm. However, its polyester content makes it particularly easy to care for and can be easily machine washed without shrinking, which means that there is no strong crinkling effect that is otherwise known from pure cotton tiles.
For example, there are also viscose blends that are very similar to 80/20, but are significantly heavier than this. Or you can opt for a polyester fleece. This is probably the cheapest, but also has the lowest heat output. However, a polyester fleece is probably the most robust fleece you can buy because it can be washed often and at high temperatures, does not shrink and is almost wrinkle-free. But since polyester fleeces are also rather bulky, quilting is a little more difficult here too.
Backing
All options are open to you here. I personally love Peppered Cotton from Studio E for my backs, the coarsely woven fabric is super soft yet robust. It is super pleasant on the skin and still has great air-conditioning properties.
However, you can use whatever makes you happy on your back. You can use regular quilting fabric and sew several panels together as needed. You can use special backing fabric that is extra wide and doesn’t have to be pieced. You can also patch a backing out of your fabric scraps so that your scrap box doesn’t get too full.
But maybe you would also like to go completely exotic and, for example, use a muslin fabric (please pre-wash and do not iron in this case) or choose a Minky to decorate the back. You see, there are no limits here and you can use whatever feels most comfortable to you.
Quiltsandwich
The quilt sandwich is a thing in itself. Personally, I hate this step, basting, in quilting because I can never get my back as smooth as I would like. In theory, you attach your backing fabric smoothly to a large surface such as a table or footbath (e.g. painter’s tape is suitable for this) and then neatly lay the other layers on top. Once everything is stacked without wrinkles, you can then layer the layers using various techniques
- Safety pins
- Spray adhesive
- loose Quilting stitches
fix temporarily. It is important to note that the individual pieces always have to be slightly larger than the layer above so that there is enough room for maneuver when quilting.
Some quilters also prefer the pool noodle method. All layers are rolled up onto a pool noodle without any wrinkles and then rolled over one another and fixed at the same time. You can try it out.
Quilting
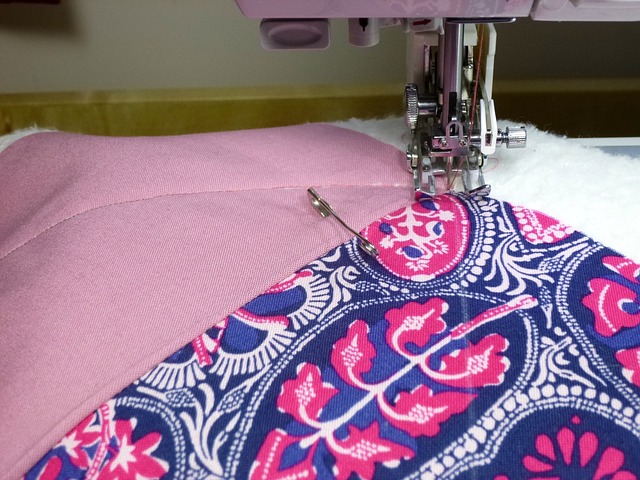
In this last but still very important step, all layers of the quilt sandwich are firmly connected to each other. Various techniques are available for this. On the one hand, you can quilt your quilt sandwich using your own household machine. Long, straight seams are ideal for this, as a large quilt can sometimes become a bit unwieldy under a small machine. Experienced quilters also like to use the free motion or ruler technique to quilt their quilt using a household machine. However, the patterns here are often a little smaller because the freedom of movement under a small machine is quite limited.
Another popular technique for quilting your best piece yourself is hand quilting. The seams are not created by machine but, as the name suggests, by hand. I find this work very pleasant and calming. It’s somewhat reminiscent of embroidery and is a nice activity in front of the fireplace or the television.
Longarmquilten
If the whole basting and quilting thing is too much, too unwieldy or too time-consuming for you, you can also send your top (possibly with batting and backing fabric) to a long-sleeved shirt. This person has a so-called long arm machine, which is designed to quilt large quilt sandwiches underneath. Here you can then decide on an all-over pattern or a completely individual design. What is guaranteed is that every seam fits perfectly.
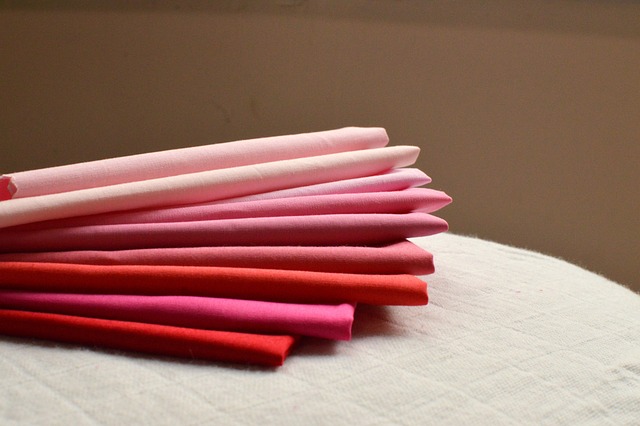
Binding
Last but not least, the binding is sewn on. To do this, 2.5″ wide strips of fabric are usually sewn together diagonally at the short ends, folded in the middle and ironed and then sewn to the outer edge of the quilt with a ¼” seam allowance. The strip is then folded around the edge and sewn on the other side either by machine or by hand. This gives the quilt a great finish and is ready to be cuddled and loved for years to come.
Label
Many quilters sew a label onto the quilt after the work is done. This should definitely say who made the quilt (it’s kind of like a signature on a painting) and when it was finished. You can also write on it which pattern the quilt was made from, what it is called or who it was made for. Here too, there are no limits to your imagination.